If you think your Outlook email signature needs a makeover, this guide is for you. Find tutorials, best practices, and more.
Have you ever stopped to think about your email signature?
You might have only thought about it as a block of text, or a few simple words.
But in reality, it’s so much more than that. You can customise and create an email signature that’ll help with your personal, professional, and marketing goals.
Read this guide to find out:
- How to add your email signature in Outlook on different devices.
- Why you should customise your email signature in Outlook.
- What to do and what not to do when it comes to designing and creating your Outlook signature.
What are the benefits of Outlook signatures?
Since the average office worker receives 121 emails everyday, you need to stand out in their inbox.
And a personalised Outlook signature can help you do that. Here's why:
It's professional 👩⚖️
Think of email signatures as digital business cards. They help you get all of your professional credentials across as you interact with recipients, and, as a result, you appear more credible.
It's personal 👤
Text-only email signatures feel impersonal, making it harder to have meaningful interactions with recipients.
On the other hand, visual features like professional headshots warm up your messages and give you a solid chance of building trust with them.
It's a great marketing tool 🔧
By including calls-to-action (CTAs) in your Outlook signature, you can transform it into a traffic and lead generation tool.
For example, a link to a product landing page, special offer, or social media page could help continue conversations with your company beyond the email chain.
Outlook signature desktop tutorial
Simple
- Log in to “Outlook”.
- Hit “Settings”.
- Type “Signature” in search box.
- Click “Email signature”.
- Copy and paste OR type signature in text box.
- Hit “Save”.
- Close "Email Signature Editor".
Detailed
- Sign in to the “Outlook Web App” or “Outlook” from “Office 365”.
- Click on the “Settings” icon at the top right of the screen.
- Type “Signature” in the search box, and “Email signature” will come up.
- Select “Email signature” → the “Signature Editor” tool will open.
- Click the boxes next to: “Automatically include my signature on new emails I compose” and “Automatically include my signature on new emails I forward or reply to”. This will ensure your email signature is on every email that’ll be sent.
- Then you’ll need to either manually type the signature in the text box, or copy and paste the signature from a generator.
- Then click “Save”.
- Close the “Email Signature Editor”, and open a new draft email.
- Your new customised email signature will appear.
Outlook signature iPhone tutorial
There are a couple of ways you can change your Outlook email signature on the iPhone. Either through the Outlook app or through the iPhone settings. We’ve given you both tutorials.
Outlook iPhone app tutorial
Simple
- Download “Outlook”.
- Click “⚙”.
- Scroll down and hit “Signature”.
- Write out in text box.
- Close “Settings”.
Detailed
- Download the “Outlook” application and sign into your account.
- Click on "Settings". It's the “⚙” icon.
- Scroll down to "Mail" and hit “Signature”.
- Write your signature in the text box.
- Exit “Settings”. Your new signature will appear when you go to write a draft email in the "Outlook" app.
iPhone settings tutorial
Simple
- Open “⚙” app on homepage.
- Scroll down and hit “Mail”.
- Scroll down and click “Signature”.
- Hit “Per Account”.
- Delete “Sent from my iPhone”.
- Copy and paste OR type signature in text box.
- Exit “Settings”.
Detailed
- Click on “Settings” on your iPhone homepage.
- Scroll down and click on “Mail”.
- Scroll down and click onto “Signature” underneath the “COMPOSING” menu.
- When this opens, there’ll be an “All Accounts” or “Per Account” option for adding the Mail signature.
- Hit the “Per Account” option, so you can specifically change your “Outlook” email signature.
- The text box will state: “Sent from my iPhone”. Delete this.
- Then you’ve got a couple of options for creating your Mail signature. Either copy and paste the signature from a generator, or type the text you want to appear at the end of your emails.
- Exit “Settings”.
- Open the “Mail” app on your iPhone. When you next go to compose an email from your Outlook account, your signature will appear once the email has been sent.
Tip: to make sure your Outlook signature works, send a test email.
Outlook signature iPad tutorial
Simple
- Open “⚙” app on homepage.
- Scroll down and hit “Mail”.
- Scroll down and click “Signature”.
- Hit “Per Account”.
- Delete “Sent from my iPad”.
- Copy and paste OR type signature in text box.
- Exit “Settings”.
Detailed
- Click the “Settings” app on your iPad’s homepage.
- Scroll down and click on the “Mail” option.
- Scroll down and click “Signature” underneath the “COMPOSING” menu.
- When this opens, there’ll be an “All Accounts” or “Per Account” option for adding the Mail signature.
- Hit the “Per Account” option, so you can specifically change your “Outlook” signature.
- The text box will state: “Sent from my iPad”. Delete this.
- Then you’ve got a couple of options for creating your Mail signature. Either copy and paste the signature from a generator, or type the text you want to appear at the end of your emails.
- Exit the “Settings” app.
- Open the “Mail” app on your iPad. When you next go to compose an email from your Outlook account, your signature will appear once your email is sent.
Tip: to make sure your Outlook signature works, send a test email.
Outlook signature dos and don'ts
Once you’ve figured out how to add your signature in Outlook on your device(s), it’s time to think about how you can make the most out of it based on your goals...
We’ve put together some rules to follow when creating your email signature. They cover design, the information you should include, and more.
Do ✅
Include basic contact information
First and foremost, include your:
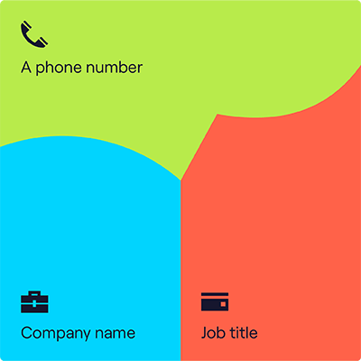
Without it, it'll be difficult for recipients to continue their interactions with you.
Use formal phrases
Your email signature helps you appear professional. So don’t use casual phrases like “See you later” or “Thx”. Instead, use phrases like “Best” and “Kind regards”.
Use CTAs
CTAs make your emails clickable. Different buttons, icons, and banners can all help direct customers to the next step in their customer journey.
CTAs can also be used in any part of the marketing funnel, like so:

Just be sure you don't bombard the recipient with too many. This will cloud recipients' thinking and reduce their chances of converting on what you actually want them to.
Include high-resolution images
All it takes is one poor quality or pixelated photo for your email to be disregarded.
On the other hand, a high-quality professional photograph will help you stand out.
Don't ❌
Go over the top with design
It’s always best to keep design simple. Stick to one colour scheme and one font, so your email signature is clear, legible, and professional.
Tip: use your company's colour palette to reinforce your brand.
Use GIFs or other moving images
Everyone loves a GIF. But, unfortunately, they won’t behave how you want them to on different devices. Also, for some industries, they may appear unprofessional, so be wary before including them.
Outlook signature FAQs
How can I change my Outlook email signature?
You can change your Outlook email signature at any time. Just follow the relevant steps depending on your device, and alter the information you’ve written in the textbox. You can also change it by using a generator.
How can I add images/icons/buttons to my Outlook email signature?
- Save image(s).
- Open "Outlook".
- Hit "Settings".
- Type "Signature" in search.
- Click on "Email signature".
- Type in signature or paste from generator.
- Move the mouse where you want the image to be.
- Click "Image" icon in toolbar.
- Select image.
- Click "Hyperlink" image in toolbar.
- Paste link(s).
- Click "Save".
Note: this tutorial is for Outlook on Office 365 and the Outlook Web Application.
You now have all the tools you need to add an Outlook signature to any device of your choice.
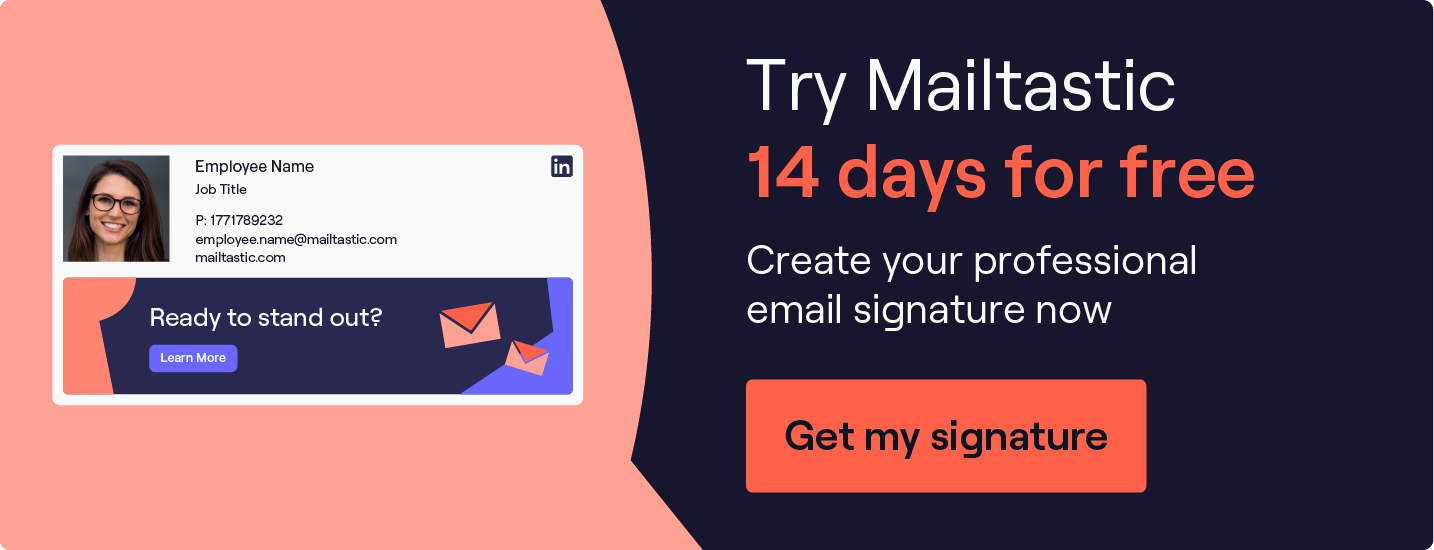
If your company has reached a certain number of employees, this process may be too time consuming and it is worthwhile to invest in a software that manages all signatures in a centralised way.
Mailtastic reduces the manual effort and ensures that signatures are standardised, error-free and in corporate design throughout the company.
See for yourself and try Mailtastic free for 14 days.
_Card.png)
.png)